
Murray Marks Teaches Shaker Box’s

Made by Murray Marks
I had a wonderful time in Romsey in Hampshire with my mate James. We started 10AM and finished at 5PM triumphantly with 2 shaker boxes each! I would highly recommend you book yourself a course here.

Made by Murray Marks

Made by Murray Marks
I really recommend Murray as a teacher he is clear and does a lot of great prep work before you come to make the day run faster and smoothly.

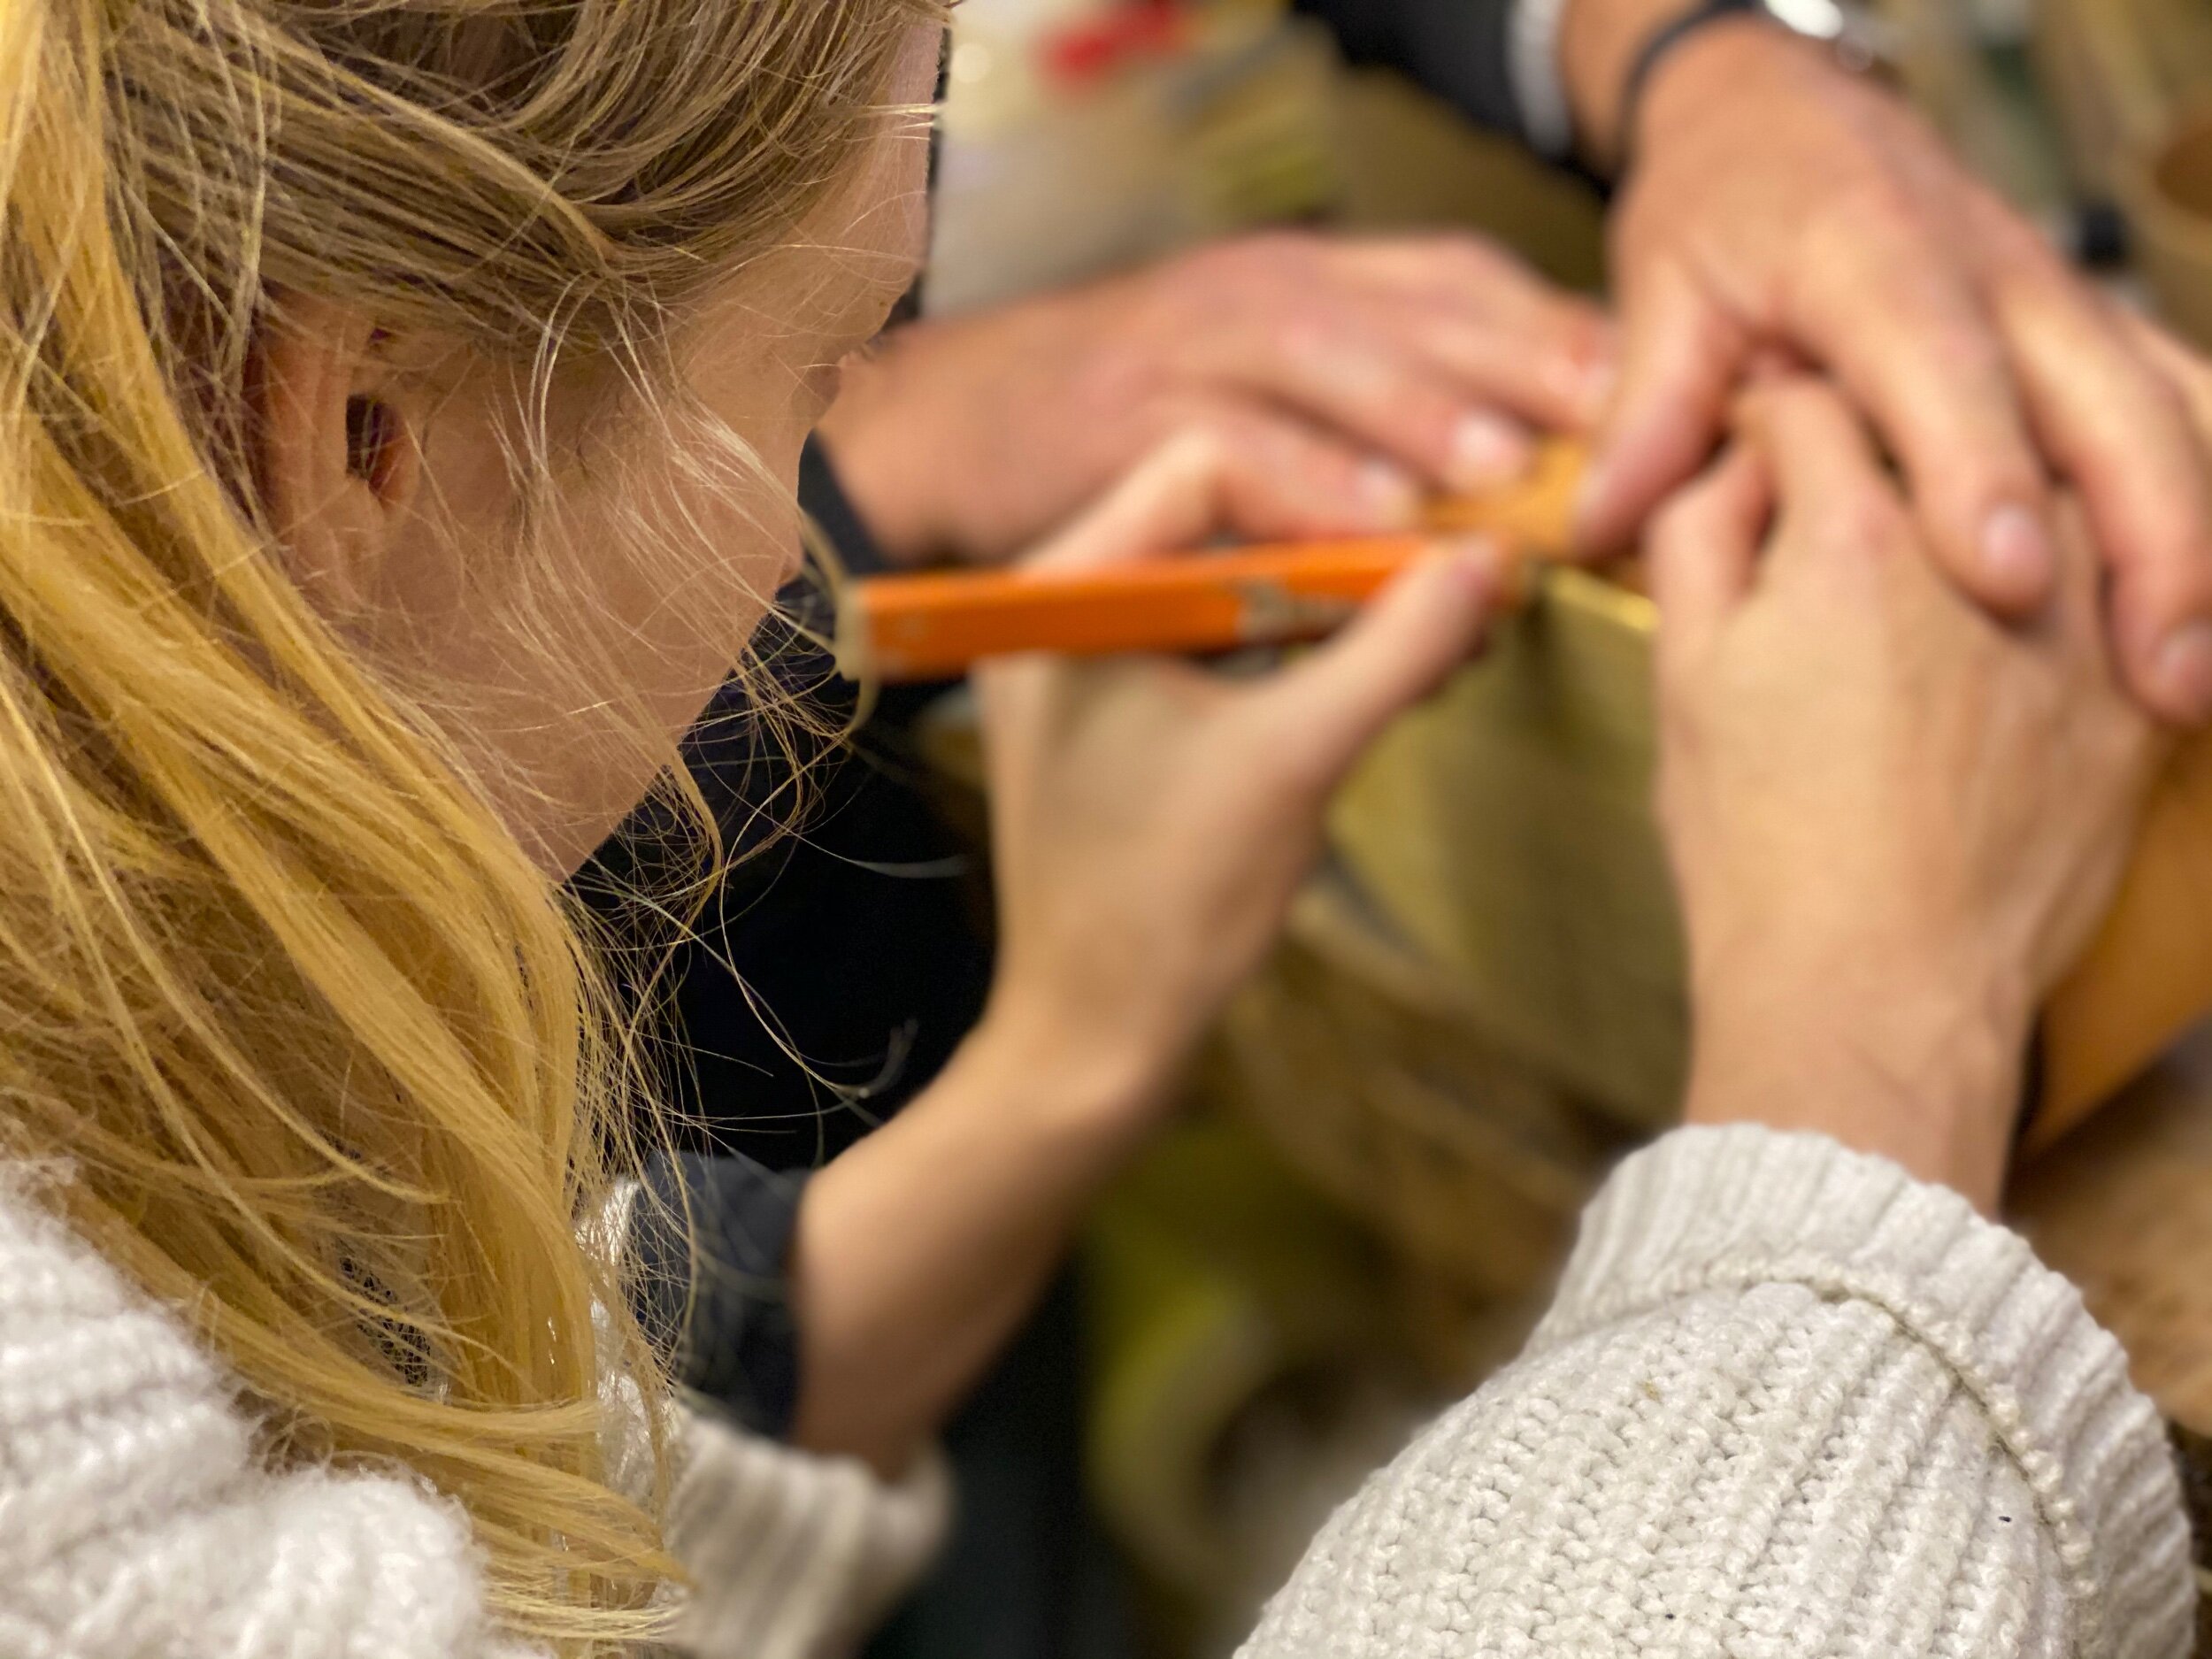
First we drew around the shaker templates which he had printed out on thin metal strips ( or you could laminate some paper) All the templates come from the same book you can buy here. These ends with 2 or 4 or more prongs called called ‘swallows tails’.


Then we cut the shapes out with a sharp blade. The wood we were using was Canadian Red Cherry wood. For the smaller boxes it was 1.5mm thick and for the larger boxes 2.5 mm thick. Each box is made up of 4 pieces, the lid top, the lid rim, the box floor and the box side. The box lid top and bottom are made from 6mm thick Birch ply wood with 0.5 mm cherry veneers glued and pressed on. Veneers makes the box lighter and cheaper to make but if you wanted to use solid wood tops and bases you could use Sycamore, Ash or Larch ( not Oak it causes problem) At the end we used a chisel to mitre off the end at an angle for visual effect.


Drill the holes out before or after you have cut the Swallows tails, we used recycled plastic chopping boards which worked great!.


Now all the pieces are cut out ( we are making 2 boxes, 1 in a size 3 and one in a size 4) We want to sand down the square end of the strips so that when we bend them in an oval shape and they are glued with an overlap it isn’t too chunky.
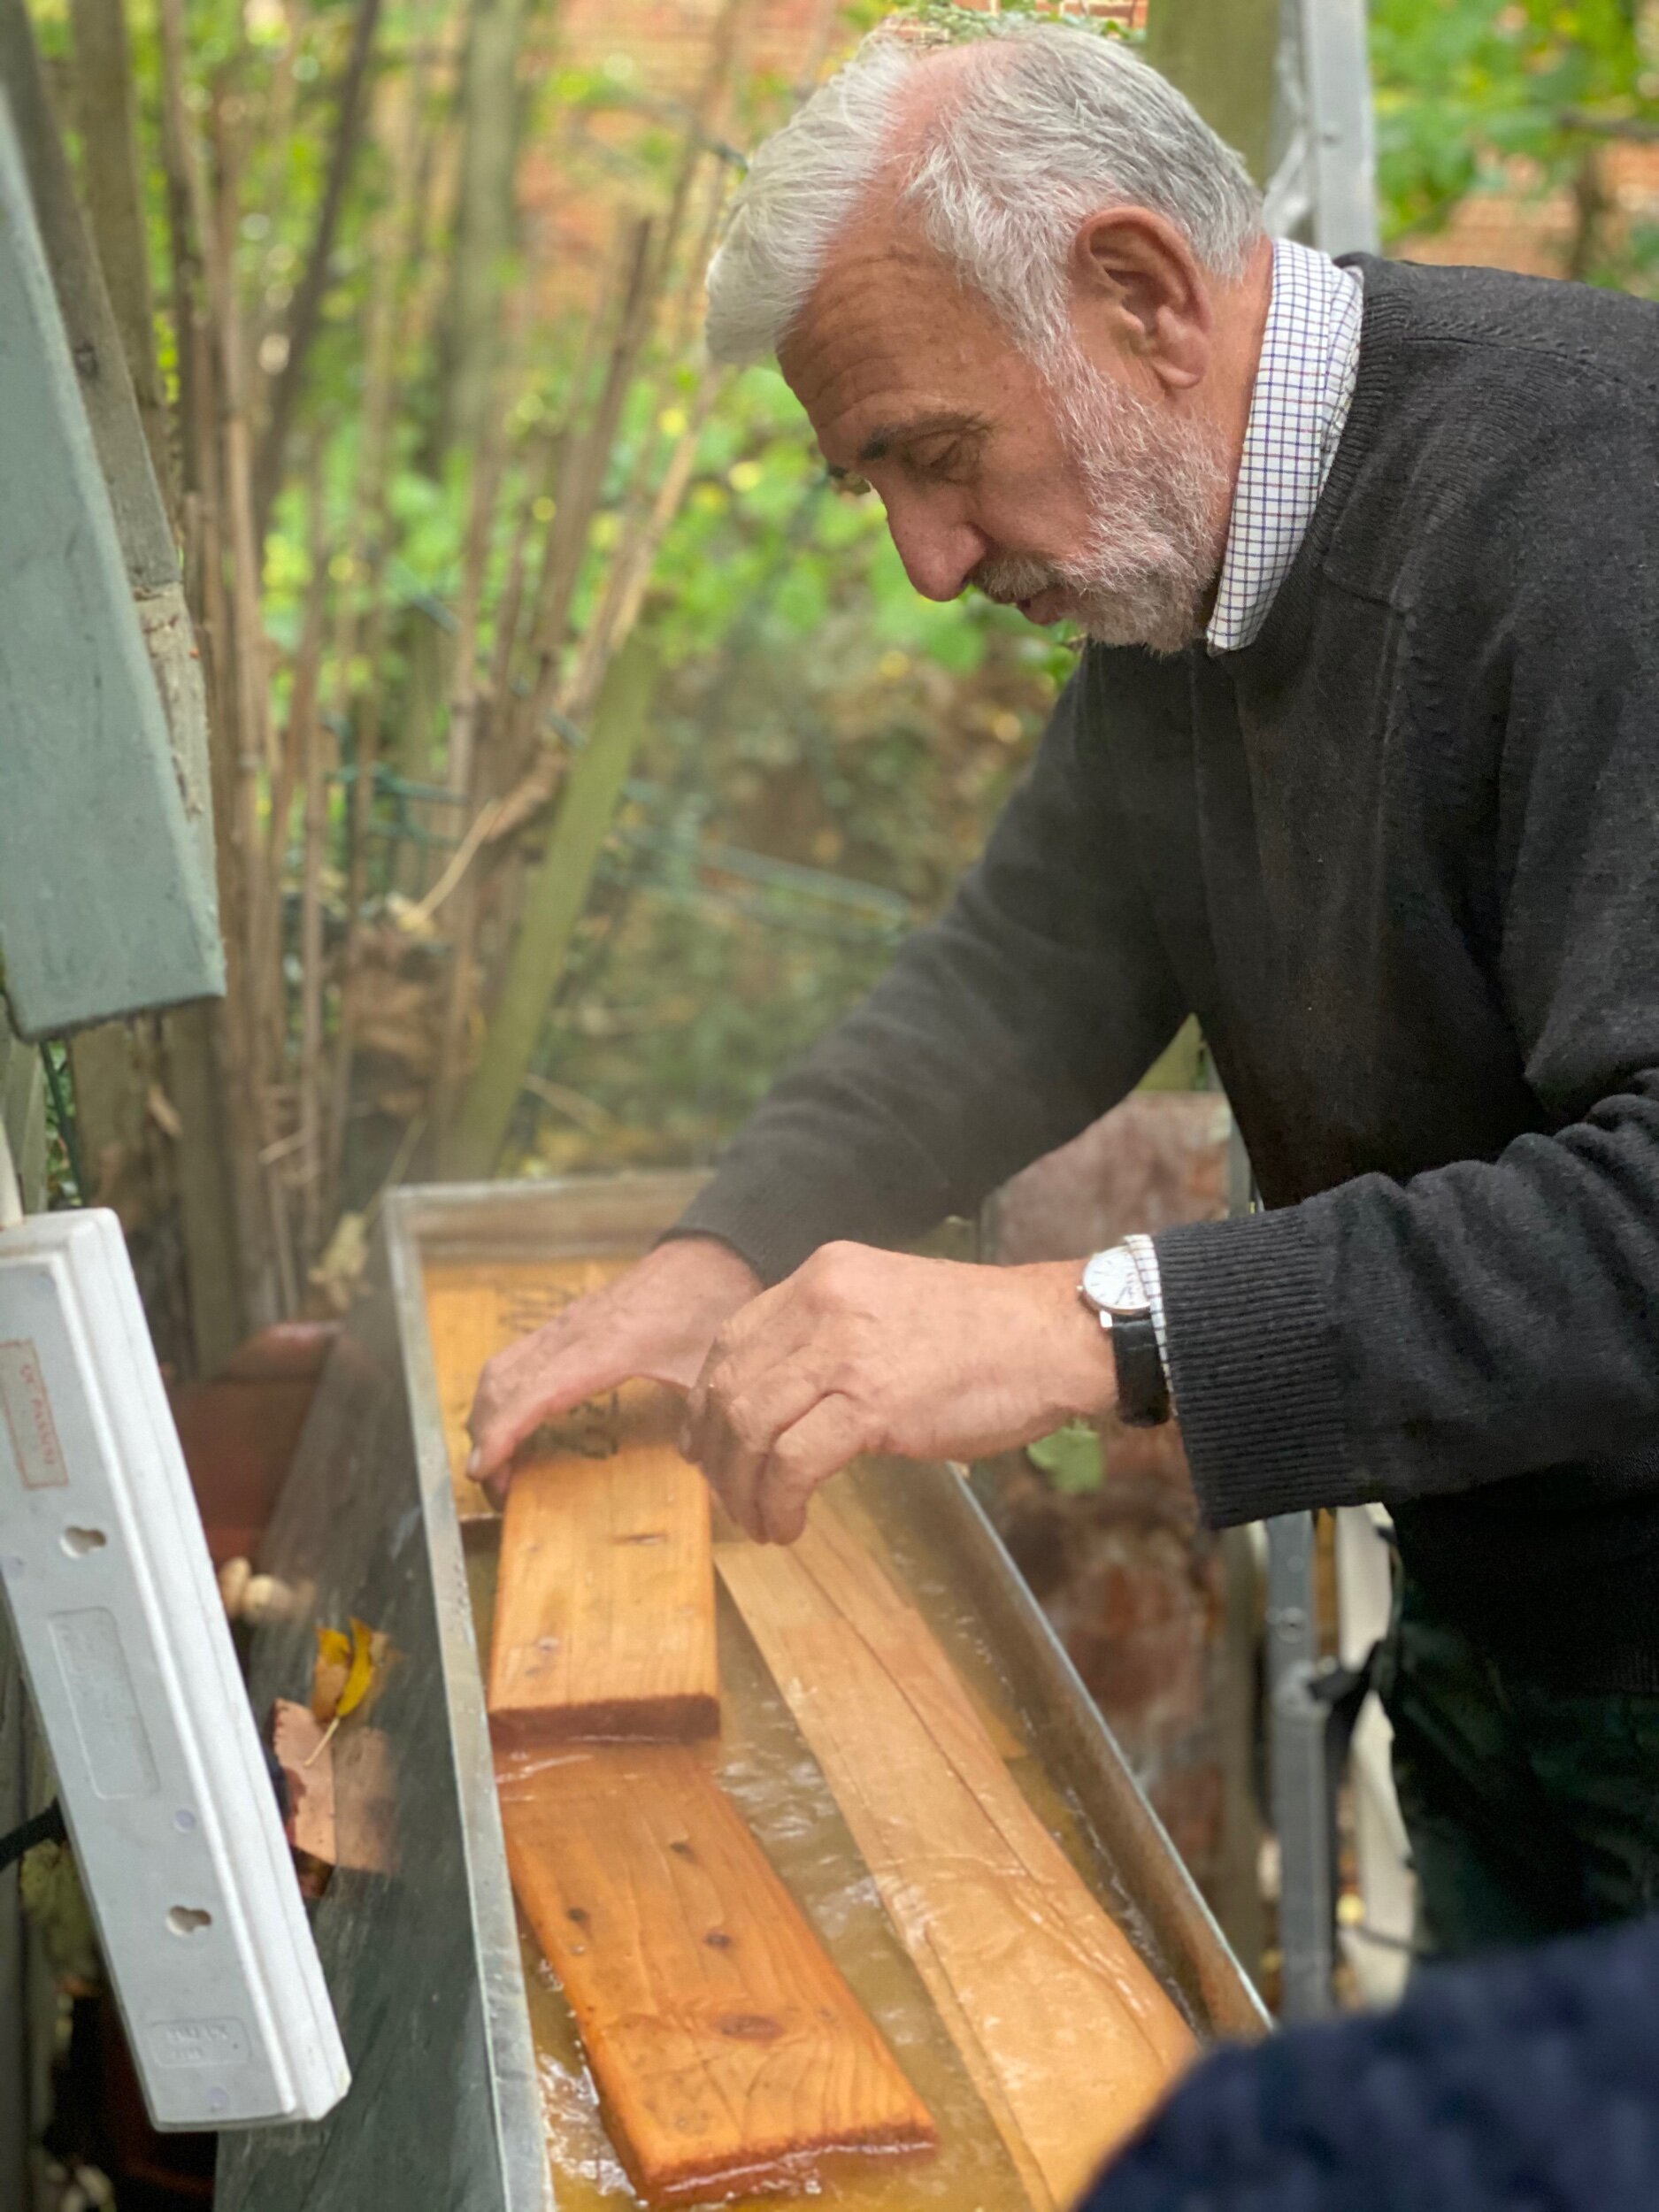
We boil the strips for about 35-45 minutes. This tank is a metal box with a lid that sits on a portable stove cooker. It can be left on all day without loosing steam or over cooking the wood ( unlike a steam box method)

When we take the larger strip for the box sides out of the box we only have a minute while the steam cools off to bend it around the former. The former is a block of wood measured and cut to the standard shaker box size you desire with 2 holes drilled through for ease of use and clamping. You wrap the strips around the former slowly and steadily supporting the wood each step of the way to avoid ripping.
Then mark with a pencil an overlap line so that as you loosen the wrap around the former to take it off you can still see the correct position they should meet at.
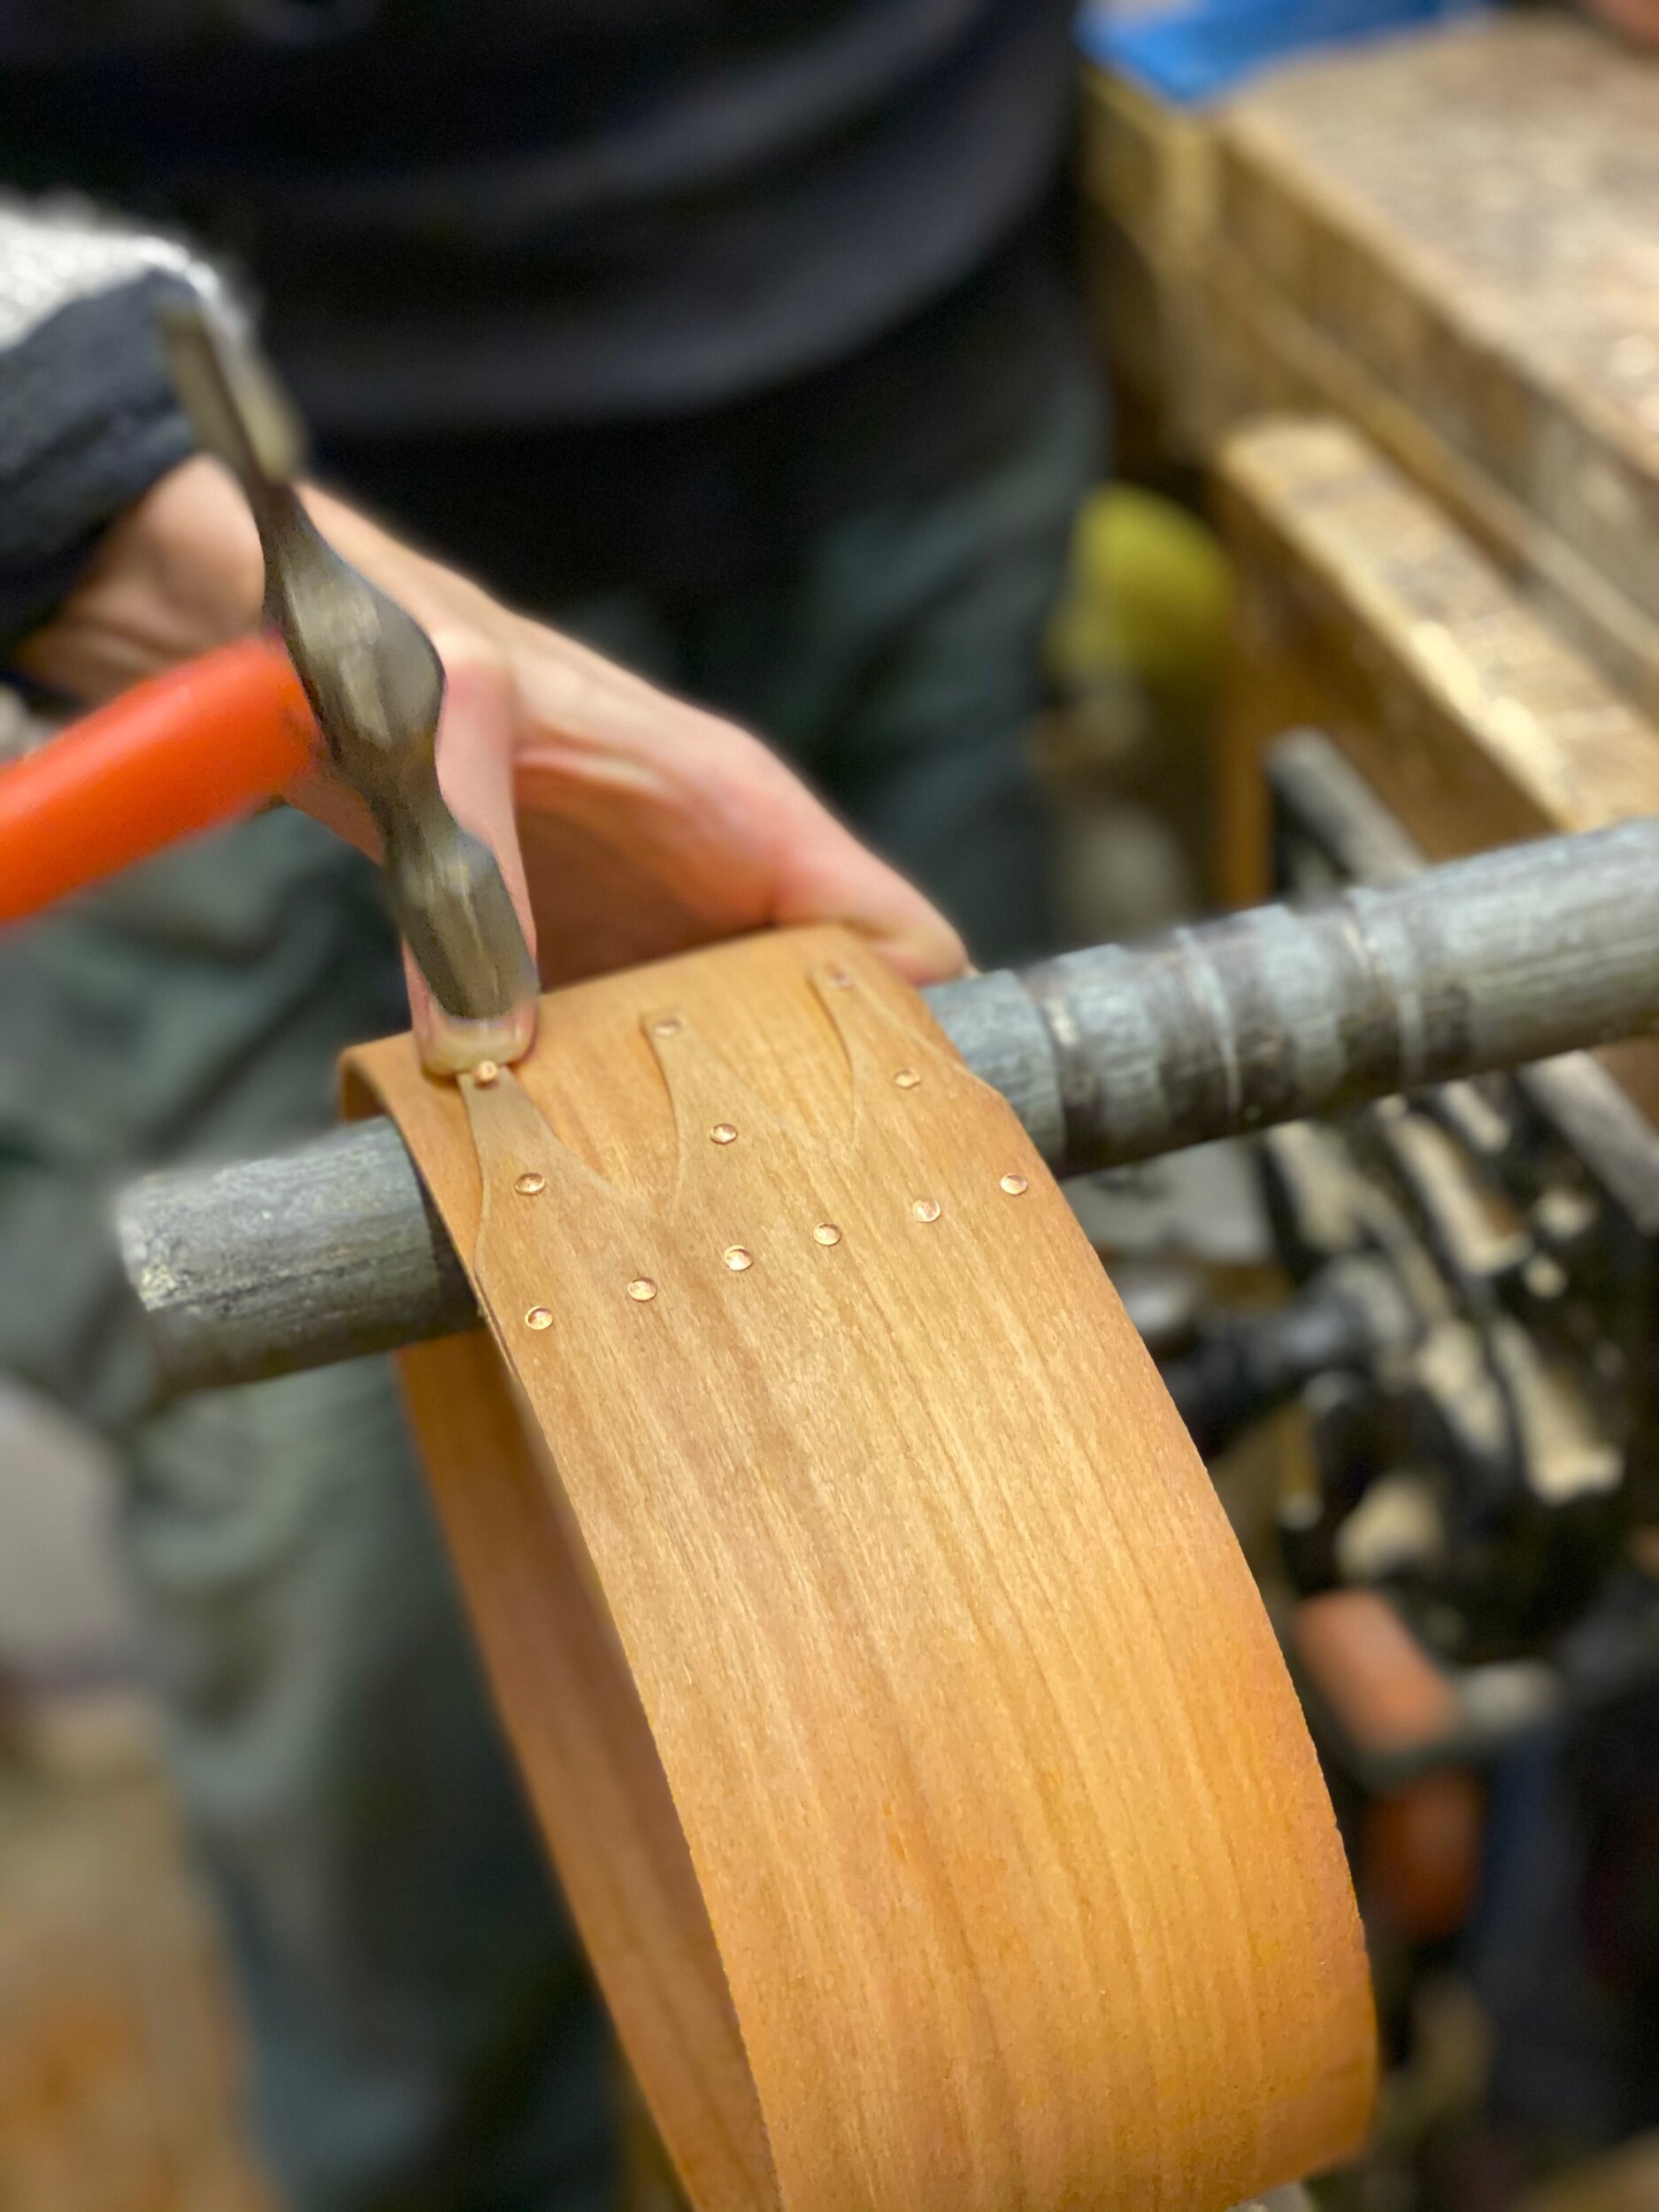
Here you tightly grip the overlap with one hand which is trying to burst open. Place it on a metal protruding bar or anvil so that it hangs on it. Now use the other hand to pick up some copper tacks to thumb-press into the pre-drilled holes you made and then use a hammer to gently tap them in. Star with the holes furthest away from the tails and then work your way into the tails until all of the holes have copper tacks.


Now place your box side back onto the former. When you take the boiled lid strip out of the water you will wrap it around the former on top of the box side. This is because the lid needs to fit snuggly on top of the box side walls. D exactly the same for the lid by marking the overlap with a pencil, releasing it from the former, gripping the overlap and hammer in the copper tacks gently

Place your box sides on top of your pre-pared wood or ply. Draw inside the oval walls with a pencil to mark the side of your box bottoms. Mark a line where the overlap is so you can align it with the lid overlap for visual harmony and accurate fit.

Cut out the oval base and tops with the bandsaw. Leave 1-2 mm gap between your cut line and the pencil line. The rest can be sanded away with

The last part of the construction is to secure the base to the box sides and top to the lid side. Technically it doesn’t need this becuase the strips should be super tightly wrapped abound the bases to hold them in place, but this is how it has always traditionally been done.
So you want to mark little holes to make all the way around the top of the box base about 3mm up from the bottom as this is the centre of your 6 mm thick ply. Murray made a jig as you see above where the drill sits exactly 3mm above and the drill bit is the right length. We measured the holes about 2inch distance all the way around but balanced it out by eye since Murray pointed out you don’t want holes across the swallow tails part of your box.

Now wee need tiny little wooden dowels to fill the holes. Murray recommends America wooden tooth picks as they are uniquely square cut in the centre but round and pointy at the ends. You can purchase some here and cut them in half to get the correct size. Place the round pointy end in the hole and tap them in with a hammer. then use the sharp blade to cut the ends off.

Lastly you sand everything nice and smooth and leave them to dry for 4-7 days. When you come back to them you can sand again on your finest paper and seal them with a wax.


Some books that Murray recommends. Shaker Style by JS Bowman and Learn to Make Tools with John Wilson who was Murray’s teacher and his website is here.

Thank you so much Murray we had a fantastic time!
We had a lovely soup with bread and cheese lunch. We had a jolly chat with his wife Elizabeth about craft shows and then at the end of the day we all had a cup of tea with some lemon cake. I think I’ll need to come back one day as the amount of information was tremendous! Very intense, but really good fun. It looks easy but it is quite an art. So easy to cut out just a tad too much and leave gaps or not tighten up the sides to create an ‘off’ oval shape.
Please do check out Murrays website for more details http://www.marcovitchshakerbox.co.uk/
